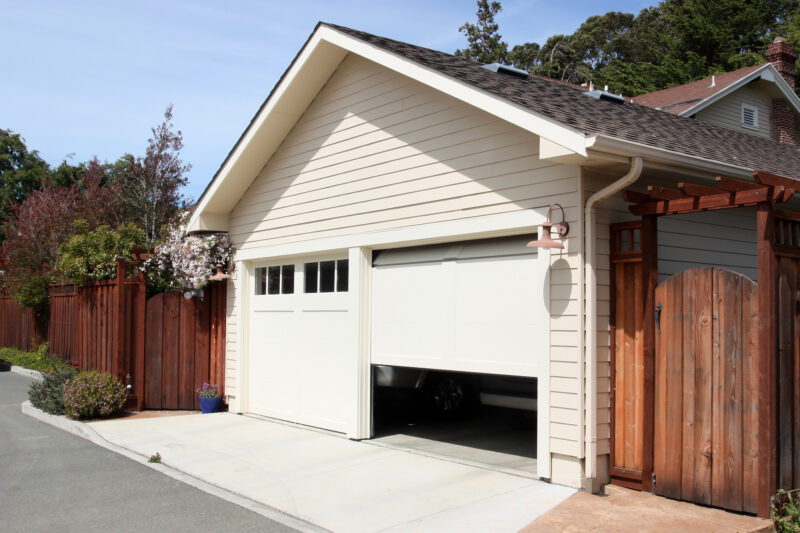
How to Fix a Garage Door Spring
Did you know that 63% of all housing units in the US have a garage or carport?
It’s no wonder; a garage offers you protection for your vehicle, additional storage, or just a great place to do your DIY projects.
Unfortunately, things can go wrong. One of the most common garage door problems is a broken garage door spring. The good news is that this is something you can fix yourself if you have the right know-how.
Read on as we look at how to fix a garage door spring.
What You’ll Need
First things first, you’re going to need the right tools and equipment, and the right replacement garage door parts. These will include:
- safety gloves
- safety glasses
- step ladder
- pliers
- wrench set
- tape measure
- winding bars
- replacement springs
- lubricant
You’ll also need a good level of DIY competency as springs at tension can be dangerous to work with. If you don’t feel confident with DIY garage door repair, then you should err on the side of caution and look for local garage door repair services to help out.
Steps to Replace a Garage Door Spring
If you’ve got the tools and DIY experience, you’re all set. Here are the key steps.
Remove the Old Spring
You’ll first need to remove the old spring. Insert a winding bar, remove the holding screws, and use the winding bar to remove the tension from the spring.
Once the spring is unwound, remove the center bolts, release the cables, and slide the drum down the torsion shaft. Remove the shaft, and slide off the spring.
Install the New Spring
The next step is to install the new spring.
Slide the new spring onto the torsion shaft. Put the torsion spring back in place and attach the cables. Reattach the center bolts.
Tighten Up
Now the spring is in place, you’ll need to tighten it up.
Insert the winding bar into the winding cone. Your spring should come with instructions about how many quarter turns it needs, which will be somewhere around the 31-34 mark.
Use the winding bar to tighten the spring by the appropriate amount of quarter turns. Once complete, tighten the holding screws. Slowly release the tension on the winding bar until the spring grips to the torsion bar.
Test the door. If you find it lifts by itself, you’ll need to ease off the tension a little. Make sure the garage door has the correct balance and alignment.
Are You Ready to Replace Your Garage Door Spring?
Repairing a garage door spring is something that you can do yourself, providing you have the right tools and the right level of DIY know-how.
If you don’t possess either, or you’re not feeling confident about doing the job right, then it’s always best to call in the professionals. The last thing you want to do is injure yourself or make a botch job that ends up costing more to repair.
For more practical content, please be sure to check out the rest of the site.