How to Install Roof Vents for Proper Ventilation
Do you have a house with an attic? If the answer is yes, then you likely have heard about the need to ventilate your attic. This is especially true if you live in a hot climate, as attics tend to get very hot in such weather.
But, there’s also a solution. Installing roof vents is a common way to improve airflow in the attic, which in turn can work to prevent mold and mildew growth, excessive buildup of heat, and other potentially harmful effects.
Wondering how to install roof ventilation and reap all these benefits? Need some inspiration to get the installation underway? Then read on. Here’s how to install roof venting.
Assess Your Ventilation Needs and Choose a Vent Type
Determine the number and type of roof vents you need based on the size of your roof, attic space, and local building codes. The general rule of thumb is to have at least one square foot of ventilation for every 150 square feet of attic space.
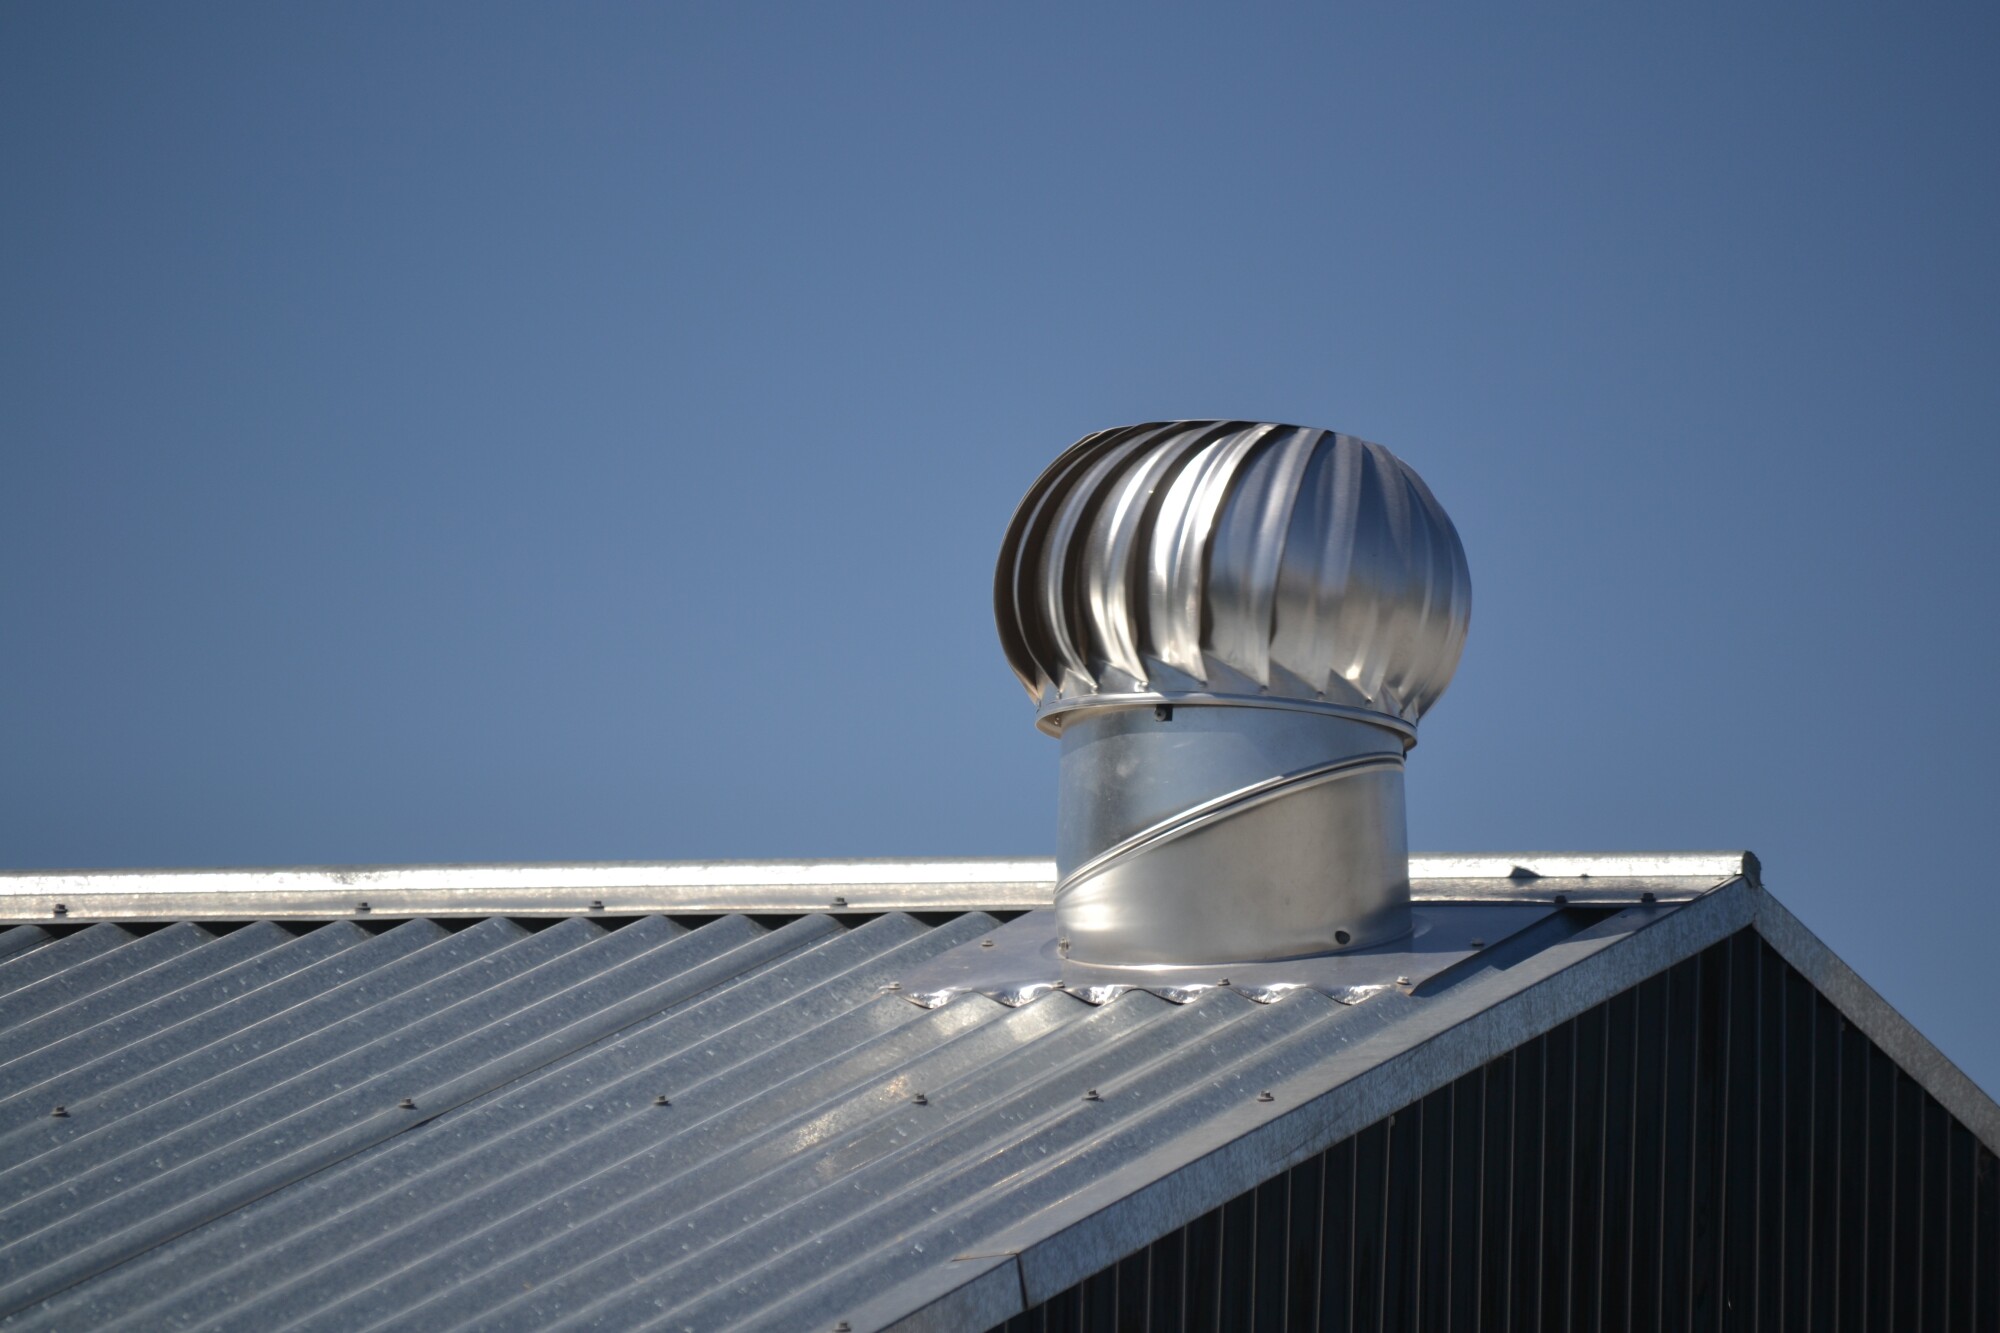
There are several types of roof vents available, including ridge vents, box vents, turbine vents, and soffit vents. Consider factors such as the roof slope, aesthetics, and climate conditions when selecting the type of vent.
Gather the Tools and Locate the Installation Area
You’ll typically need a reciprocating saw, measuring tape, chalk line, pry bar, roofing nails, roofing cement, roof flashing, caulk, and a ladder or scaffolding.
Next, determine the ideal location for your roof vents. They are typically installed near the roof’s peak or along the soffit to allow for proper airflow.
Prepare the Roof and Create an Opening
Use a measuring tape and chalk line to mark the area where the vent will be installed. Remove the shingles or other roofing material from the marked area, being careful not to damage the underlying roof structure. Contact the best roof repairs if your roof is in bad shape.
Using a reciprocating saw, cut a hole in the roof following the marked area. Ensure that the size of the hole matches the dimensions of the vent you’re installing.
Install Roof Vent and Flashings
Place the vent over the opening, aligning it properly. Secure the vent in place using roofing nails or screws, following the manufacturer’s instructions. Apply roofing cement around the edges of the vent to create a watertight seal.
To prevent water infiltration, install roof flashing around the vent. This helps to redirect water away from the vent and prevents leaks. Follow the manufacturer’s instructions for proper installation.
Secure and Test the Vent
Apply a layer of roofing cement or caulk around the edges of the vent and flashing to ensure a watertight seal. This helps to prevent any potential leaks.
Once the roof vent is installed, check the ventilation in your attic space to ensure proper airflow. You can do this by feeling for airflow or using smoke or a ribbon to observe the movement of air.
Install Roof Vents Today!
Roof vents are essential for the long-term health of your roof. By following the step-by-step instructions in this article, you can now install your own vents with confidence and start enjoying the benefits of proper attic ventilation. For more information on vent installation, feel free to contact your local roofing professional.
Did this article help you? Keep reading our blog for more!