How to Choose the Right Equipment for Soil Preparation Jobs
Soil preparation is one of those tasks that seems cut and dry until you’re on a site with the wrong equipment and a time restraint. Whether this work requires breaking up the soil, tilling soil for appropriate growth, or potentially even just loosening it, before some construction work begins, everything you bring makes a bigger difference than most people assume going into it.
Choosing the right piece of equipment means saving time, less back pain and stress and ultimately, a better product. Choosing the wrong equipment means having to redo the work or overworking machinery that isn’t meant to do what you’ve now made it do. Either way, how you choose sets the tone for the entire job.
The First Thing to Consider is the Soil
First, it depends on the soil in the first place. Soft, workable soil is one thing. Compacted clay or dirt that hasn’t been tilled in who knows how long is another. Trying to run a lightweight tiller through dense, compacted dirt is a surefire way to lose time and potentially damage equipment.
For soft ground that needs mixing or aerating, smaller equipment works just fine. But anything with serious compacting or more extensive depth requirements requires larger machinery. Thus, it always makes sense to closely assess the site before deciding on any particular tool. Spending a few minutes upfront taking inventory is well worth it to avoid wasting time later on.
Assess the Job
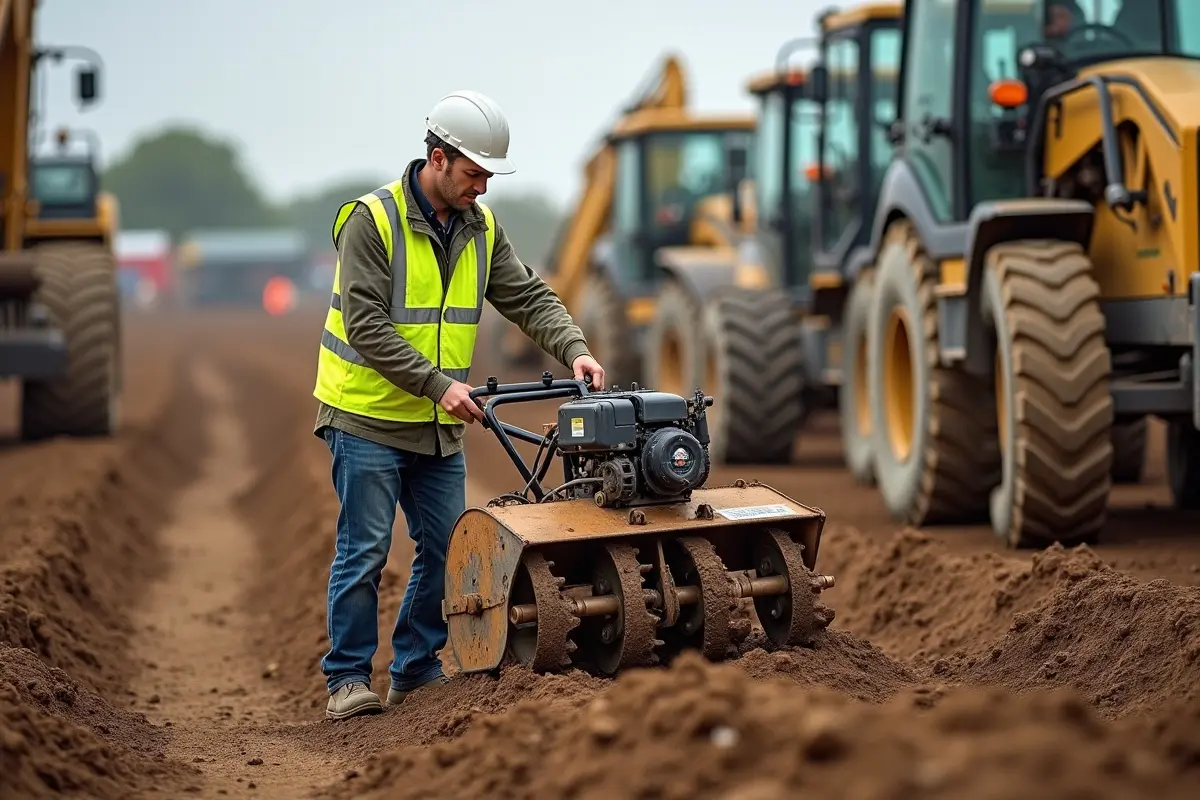
One of the most common pieces of soil preparation equipment is a rototiller and for good reason. They’re effective over a range of circumstances and they’re available in various sizes from garden spaces to larger ones. If you’re not familiar with how they work, now is the time to brush up on rototillers basics before you settle on them for your specific job.
That said, rototillers are not always the answer. For very rocky ground, they struggle and wear out quickly. In this case, a walk-behind tractor with attachments appropriate for a job—or, at worst, a skid steer with a soil conditioner attachment—might fit better. The point is not to default to one piece of equipment, but instead, ensure that whatever tool is used meets what the site requires.
Area Size
This assessment brings us directly to area size. Rear-tine tillers pack in decent horsepower but can run effectively for surprisingly large areas under half-an-acre in size—in square footage ranges instead of measuring space in acres. However, larger jobs benefit from taking as much surface area with minimal passes as possible.
This means compact utility tractors or skid steers are more useful not because they do the job better, necessarily—but they have larger wheels that allow them to cover more square footage per pass and they can work extended hours without concern as operators feel the toll. Time on site matters and avoiding having operators on site longer than necessary benefits everyone involved in the project.
Front Tine vs. Rear Tine
If you’re primarily working with a rototiller, there’s a difference between front tine and rear tine. Front tine tillers are lighter and more mobile—which makes sense when working in tighter spaces or against other plants that might be nearby—but they’re less effective tillers when dealing with ground that never before has been tilled instead of soil that’s already turned more than once.
Rear tine tillers are more powerful on hard ground and stable—where the tines turn independently of the wheels and gives an operator control instead of bouncing all over the place through compacted situations. If this is your first time tiller or you’re dealing with heavily compacted areas, switch to rear tine; seasoned pros will tell you so themselves.
Depth
Most jobs have a depth requirement, even if it’s not stated explicitly. If compost/fertilizer needs tilling in, it’s usually within 6-8 inches. If construction work requires preparation, it might need to be deeper as well. Garden-based situations are easily handled by standard tillers but if you require more than 12 inches for any reason, check the specs before assuming any tiller will do the job.
Going too shallow defeats the purpose. Going too deep with equipment that can’t handle it adds undo strain on equipment and generally causes uneven surfaces or access roads at best. Neither option worth trying to cut corners and get a pass in either direction.
Rent vs Buy
For most situations, soil preparation equipment is not required 24/7 throughout the year; instead renting is better, especially for an on-and-done project or a seasonal one. It eliminates costs associated with storage/maintenance/depreciation while making it easier to select what size machine gets rented each time based on current needs instead of using whatever you might have in your possession at the time and having to make due.
Buying makes sense when equipment sees consistent use from month to month. A landscaping company undertaking weekly projects has different criteria than someone preparing their backyard vegetable garden once per year for growing season. Understanding where you fit will make this decision easier.
Making the Final Call
Ultimately, deciding on proper equipment for soil preparation jobs is about being honest with what needs to get done, to what soil condition and when it will need doing again (if at all). Soil type, area size, necessary depth and frequency all play into this consideration; skipping any part eventually results in ineffectively-minded equipment from operator’s end or overspending on equipment that has more than what requirements suggest is necessary.
Take your time assessing the site; understanding what’s meant to be done and what’s built for doing it ultimately makes the right decision clear.